The configuration page provides an overview of all configured add-in instances and their details
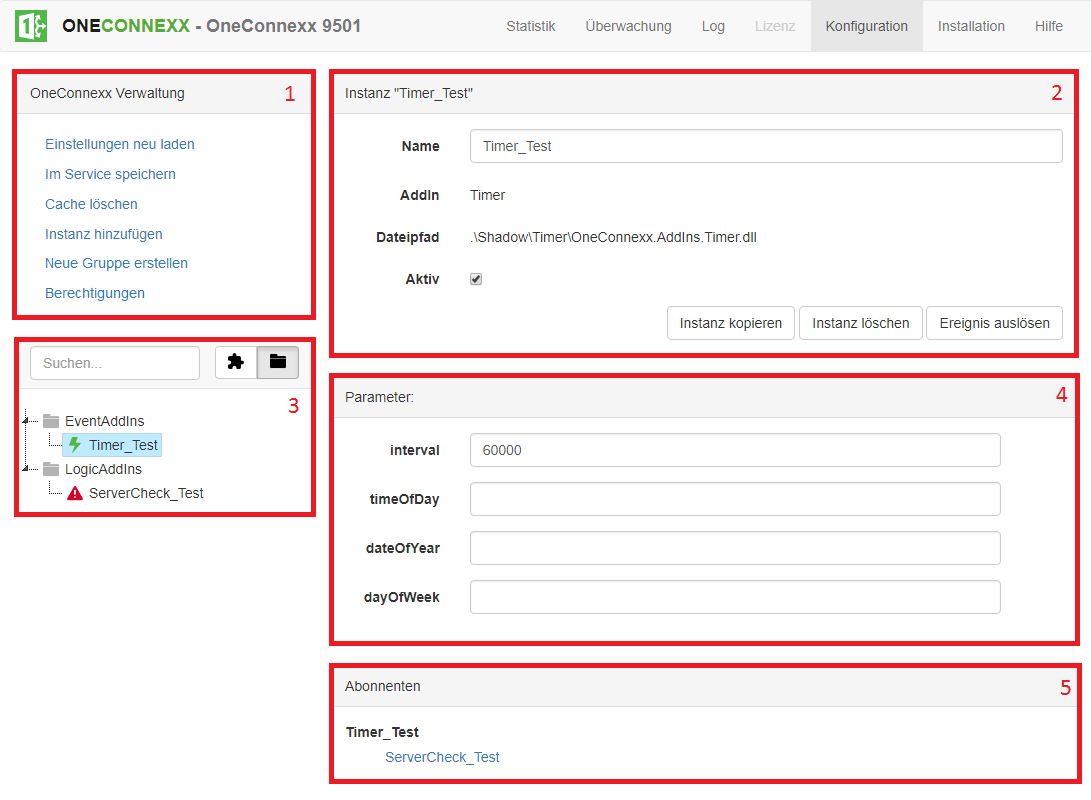
1. OneConnexx administration
- Reload settings: If this button is selected, all settings are reloaded from the service or the database.
- Save in service: The changes made are automatically added to the queue. In order to save this change you have to click this button.
- delete cache: If this button is clicked, all data stored in the cache (unsaved settings and configurations) will be deleted.
- Add instance: A new instance can be configured using this button. It must be noted that no instance can be created if no group is configured. Before an instance can be created, the type must be selected. The dialog below opens for this purpose:
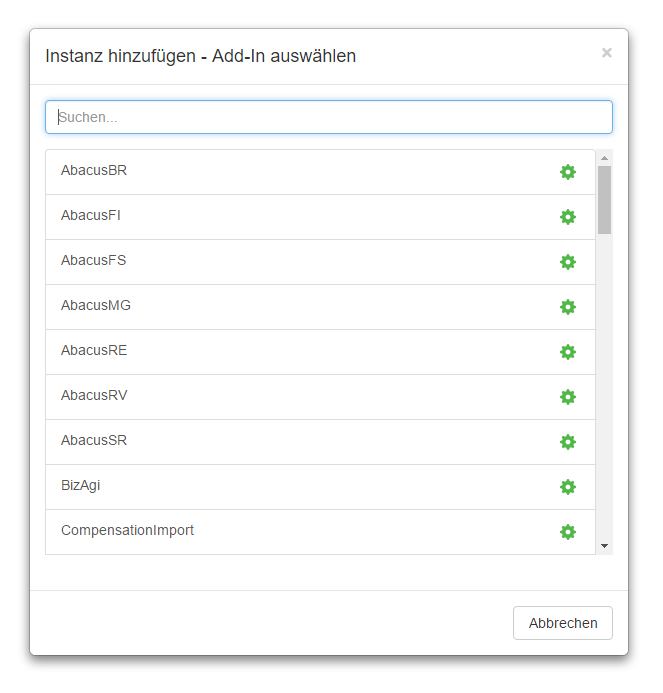
The desired add-in type can be selected by clicking the mouse or using Shift and Enter. Only when this is done can the name be set.
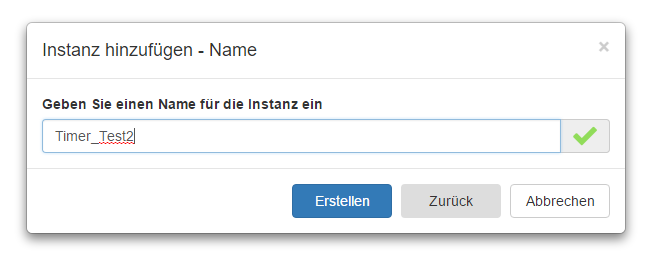
By default, the name of the instance contains the prefix instance type. This prefix does not have to be left in the name, but it is recommended because the add-in type can be read directly from the name of the instance. With a click on “Create” the instance is created and the configuration window is filled with the instance details, the parameters and the subscribers / subscribed events (2, 4 and 5). An instance name must be unique. - Create new group: This button can be used to create a new group. If there is no group, no instance can be configured. The group only serves as an optical / logical grouping and has no influence on the logic of the software.
- Authorizations: This menu item is only visible for users with the role of administrator. A comma-separated list of users or groups can be specified which belong to the role configurator. These users can create, delete and configure add-ins, as well as view and change all configuration parameters. Caution: If no users or groups are specified, the configurator role applies.

2. instance details
The detailed view of the various instances differs slightly. The above view appears when an instance of an event add-in has been selected. With a logic add-in it would look like this:

The button “Start logic with parameters” has been added, and instead of “Trigger event” it says “Start logic”.
- Name: The name can be easily edited using this input field.
- Add-In: The type of add-in.
- File path: The path in which the host’s directory contains the add-in data.
- Active: Checkbox whether the instance should be active or not. If it is not active, nothing is done when the add-in is called. An inactive add-in can stoll be started manually.
- Button Copy Instance: Copies the currently selected instance.
- Button Delete instance: Deletes the currently selected instance. Log entries and transactions are not deleted.
- Button Start logic / trigger event: Triggers the event or starts the logic.
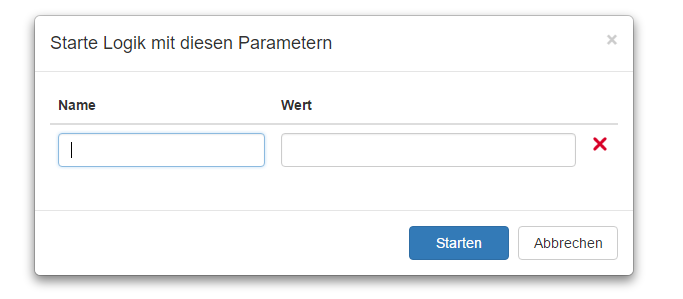
- Button Start logic with parameters: Only available for logic add-ins. This button can be used to start a logic (which, for example, is to be triggered by another instance and also receives parameters from it) with parameters. The input is made via two input fields per parameter: name and value.
3. Instances overview.
Two views can be selected for the instance view;
- Order according to group
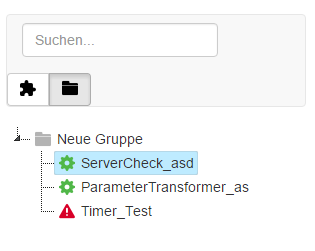
If the instances are not arranged according to groups, no new group can be created; the button for this is hidden in this view. - Order by add-in type
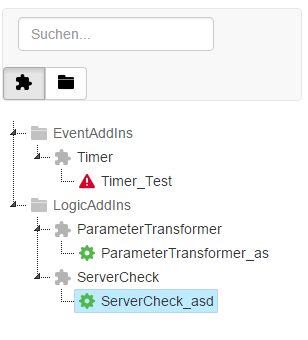
4. Instance parameters
There are two different types of instance parameters: the optional and the mandatory. In the example above, for example, the “interval” parameter is mandatory. This can be recognized by the red border. Without these parameters, the instance cannot run. The optional parameters are not mandatory for running the instance. The parameters differ from add-in to add-in.
5. Link add-ins to one another
Add-ins can be linked together. There are the following principles for this:
- A logic add-in can be linked to one or more other logic add-ins
- A logic add-in can be linked to one or more event add-ins
- An event add-in can not be linked to another event add-in
Due to the third principle, the “Subscribed Events” view only appears for logic add-ins.

A new subscribed event can be added by clicking on the black plus. If an instance subscribes to another instance / event, the subscribing instance is triggered as soon as the subscribed event has been triggered. The corresponding name of the event to be subscribed to can be specified in the “Type” field. Many add-ins have their own event types which are described in the Standard Add-Ins section. The most common event is the .Done event, which is triggered when a logic is successfully completed.